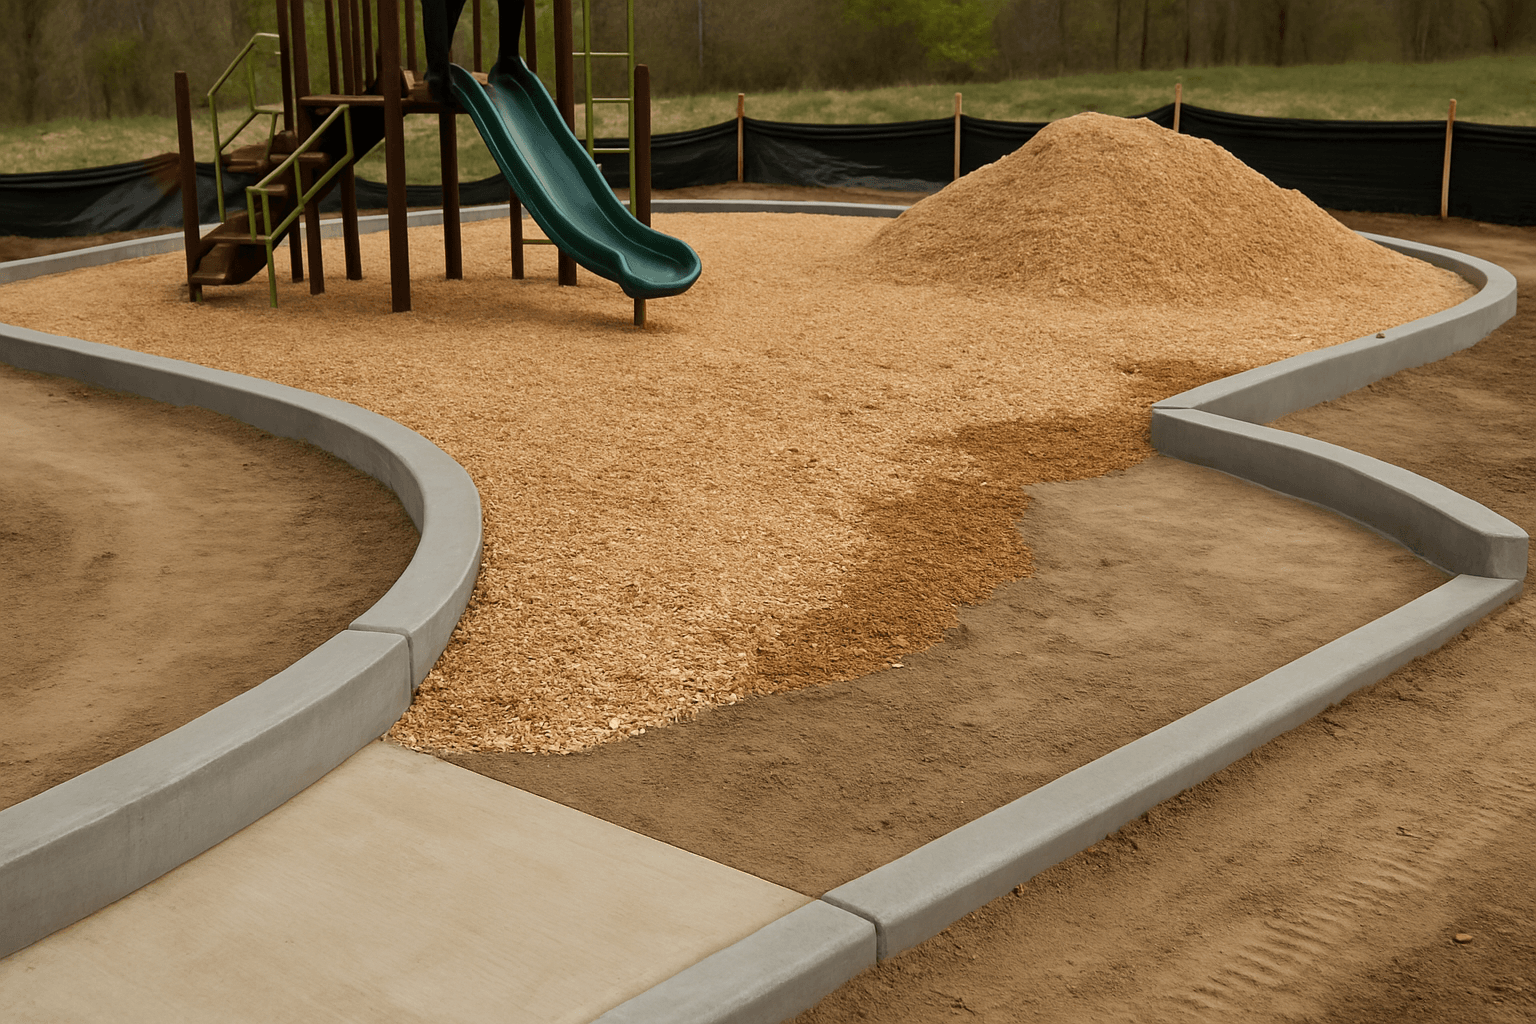
You spend the morning getting the depth right and the mulch looking good, and then the site supervisor walks over and points to a drainage channel with half an inch of EWF sitting in it. Now you've got a channel that won't drain, a supervisor who isn't happy, and a call to make about whether you're regrading it today or coming back.
Keeping mulch out of drainage channels during installation isn't complicated, but you have to plan for it before you start, not after.
Know Where the Drainage Goes Before the Pour
Walk the site before your crew starts. Find every drainage inlet, channel, swale, and stormwater feature inside or adjacent to the play zone. Mark them. Know which direction water flows off the site.
If you've got a playground that drains into a linear channel along one edge, that's your containment point. Mulch that migrates during installation will collect there first. That's where you focus your attention.
On sloped sites, drainage is more aggressive. A playground with even a 2% grade will shed material toward the low end. Know which direction that is and position your containment accordingly.
Use Physical Barriers at Channel Edges
The most reliable method is a physical barrier placed at the channel edge before the pour starts. Temporary landscape edging, silt fence, or construction fabric staked at the inlet gives you something to catch migrating mulch before it drops into the channel.
For concrete channels or paved drainage swales, a simple sandbag or foam backer rod temporarily set in the channel opening will block EWF from getting in during active work. Pull it after the pour, check the channel, and remove anything that got through.
Don't rely on crew attention alone. On a busy install day with multiple people working, someone will kick mulch toward a channel and not notice. Physical barriers catch what people miss.
Stage Your Blower Work Carefully
If you're using a blower for large EWF pours, that's where drainage contamination usually happens at scale. Blower hose spray puts material airborne and it lands where it lands, including in drainage channels 20 feet away.
Talk to your blower operator about wind direction before they start. If the channel is downwind, either stage the blower from the opposite side or work the pour in sections that keep the spray zone away from drainage features.
On windy days, blower work near open channels is high-risk. Consider hand-spreading material near the channel edge to maintain control.
Hand-Work the Perimeter
Regardless of how you're delivering the bulk of the material, plan to hand-work the last few feet near any drainage feature. Wheelbarrow to the edge, spread with rakes, keep the depth controlled. It takes longer, but it's the only way to maintain accurate placement near an inlet.
Getting the mulch depth right at the channel edge matters for inspection too. An inspector checking a drainage area will look at whether the surfacing material is encroaching on stormwater infrastructure. Give them nothing to flag.
Build the Cleanup Into the Scope
Any mulch that gets into a drainage channel needs to come back out. This is not a zero-cost clean-up item if it happens at scale.
If your channel cleanup runs to a half-hour of raking and vacuuming, that's time you didn't price for. If it's a concrete-lined channel with tight inlets, it could be significantly more work.
On larger jobs with complex drainage, include a channel inspection and clean-up line in your proposal. It's a legitimate scope item, and it protects you from absorbing the labor when it happens.
Document the Channel Condition at Start and End
Before the pour, photograph every drainage inlet and channel. After the pour, photograph them again. If there's pre-existing sediment in the channel from other trades, you want proof it wasn't your mulch. If your crew's work was clean, you want documentation showing it.
This matters most on commercial park projects where there are multiple contractors and drainage liability can get passed around during punchlist.
The Bottom Line
Keeping mulch out of drainage channels takes five minutes of planning before the pour and active attention during it. Know where the drainage goes, set physical barriers, manage your blower spray, and hand-work the perimeter near inlets. A clean channel at closeout is part of the job.